You need a working sendmail command for email alerts to work. Almost all MTAs provide a sendmail interface.
Netdata sends all emails as user netdata, so make sure your sendmail works for local users.
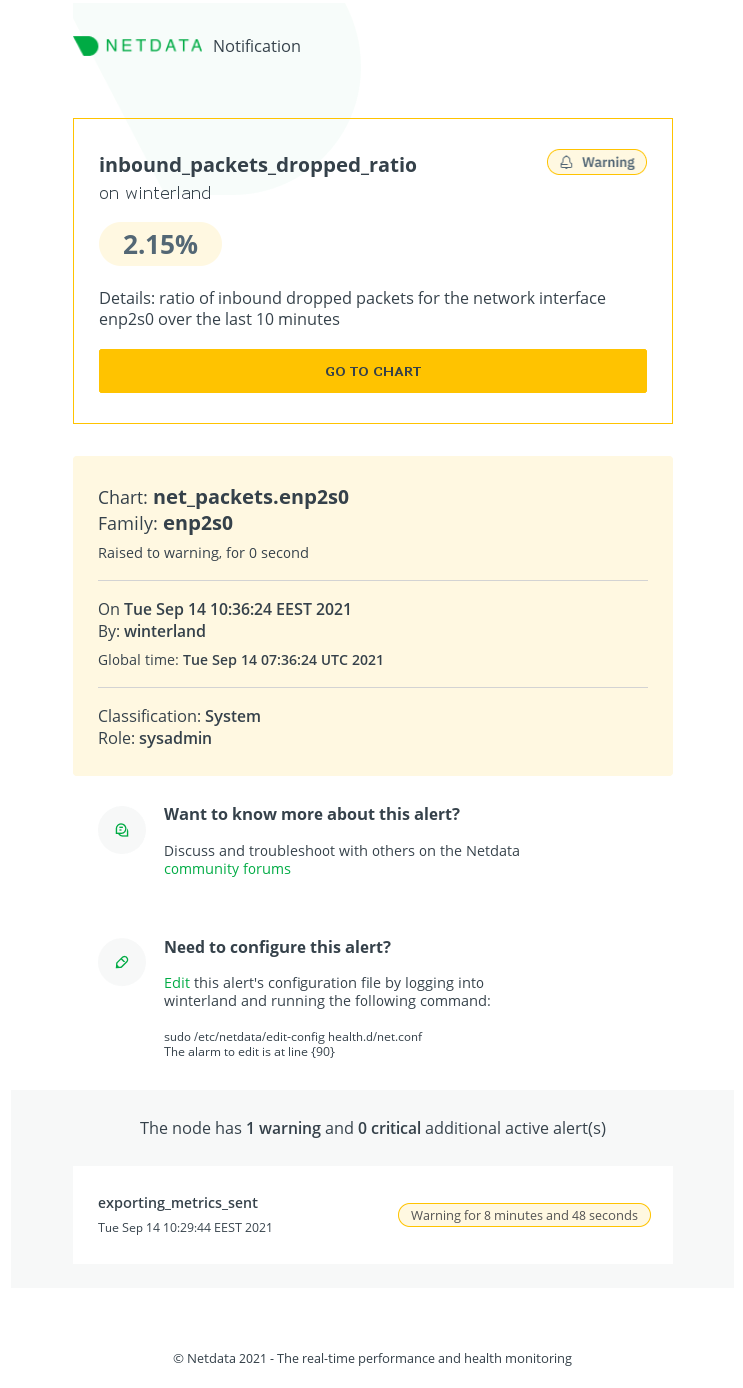
email notifications look like this:

Configuration
To edit health_alarm_notify.conf on your system run /etc/netdata/edit-config health_alarm_notify.conf.
You can configure recipients in /etc/netdata/health_alarm_notify.conf.
You can also configure per role recipients in the same file, a few lines below.
Changes to this file do not require a Netdata restart.
You can test your configuration by issuing the commands:
# become user netdata
sudo su -s /bin/bash netdata

# send a test alarm
/usr/libexec/netdata/plugins.d/alarm-notify.sh test [ROLE]
Where [ROLE] is the role you want to test. The default (if you don't give a [ROLE]) is sysadmin.
Note that in versions before 1.16, the plugins.d directory may be installed in a different location in certain OSs (e.g. under /usr/lib/netdata).
You can always find the location of the alarm-notify.sh script in netdata.conf.
Filtering
Every notification email (both the plain text and the rich html versions) from the Netdata agent, contain a set of custom email headers that can be used for filtering using an email client. Example:
X-Netdata-Severity: warning
X-Netdata-Alert-Name: inbound_packets_dropped_ratio
X-Netdata-Chart: net_packets.enp2s0
X-Netdata-Family: enp2s0
X-Netdata-Classification: System
X-Netdata-Host: winterland
X-Netdata-Role: sysadmin
Simple SMTP transport configuration
If you want an alternative to sendmail in order to have a simple MTA configuration for sending emails and auth to an existing SMTP server, you can do the following:
- Install
msmtp. - Modify the
sendmailpath inhealth_alarm_notify.confto point to the location ofmsmtp:
# The full path to the sendmail command.
# If empty, the system $PATH will be searched for it.
# If not found, email notifications will be disabled (silently).
sendmail="/usr/bin/msmtp"
- Login as netdata :
(sudo) su -s /bin/bash netdata
- Configure
~/.msmtprcas shown in the documentation. - Finally set the appropriate permissions on the
.msmtprcfile :
chmod 600 ~/.msmtprc
Was this page helpful?
Need further help?
Search for an answer in our community forum.
Contribute
- Join our community forum
- Learn how to contribute to Netdata's open-source project
- Submit a feature request